This guide explains how to deploy an instance of the RELIANOID Community Edition Load Balancer on the Azure Cloud Platform using a Free License.
Why deploy RELIANOID on Azure?
RELIANOID is a powerful and feature-rich load balancer that supports advanced networking capabilities, including Layer 7 proxying, SSL offloading, content switching, VPN, stateless clustering for high availability, real-time notifications, and more. It brings a robust Site Reliability Experience to your cloud infrastructure.
Create a RELIANOID Community Load Balancer Instance on Azure #
1. Log in to your Azure Portal.
Open portal.azure.com and log in with your Azure account credentials.
2. Go to “Virtual Machines” and click “Create”
In the left sidebar of the Azure Portal, click on Virtual Machines, then click the + Create button at the top left or mid then virtual machine.

3. Basics tab – Fill in required fields
- Subscription: Your active Azure subscription
- Resource Group: Select existing or create a new one
- Virtual machine name: e.g.,
relianoid-ee-vm - Region: Choose a region close to your users
- Security type: Choose Standard

- Image: under the Image dropdown, click See all images or Browse all public and private images. In the popup, search for RELIANOID and select RELIANOID ADC Community Edition from the Marketplace results.


- Size: Choose Standard B2s or higher (min. 2 vCPUs recommended)

- Authentication type: SSH public key
- Username:
azureuser - SSH Public Key: Create key or use your Existing key
.pemfile public key here

4. Disks – Configure storage
Choose Standard SSD or Premium SSD, minimum 8 GB.

5. Networking – Set network and firewall settings
Select or create a Virtual Network and Subnet.

Click Review + create and see if validation is passed then click Create.

6. Download the key and create resources

7. Wait deployment.
After that you will be redirected to Deployment is in progress.

Wait for the deployment to be completed.

8. Connect to your Azure VM
Now under the virtual machine tab you can see that you have created RELIANOID CE vm successfully. Make sure its in running state.

Under VM you can see your public ip address and connect option at the top. You’ll use this for accessing the system via SSH and web browser.

Initial Setup of RELIANOID Community Load Balancer on Azure #
9. Connect via SSH
SSH into the instance using the azureuser user:
ssh -i your-key.pem azureuser@<Public_IP>
Then switch to the root user and change the root password:
sudo su -

passwd
It would appear to re-type the password to avoid any mistake.
10. Access the Web GUI
In your web browser, go to:
https://<Public_IP_or_DNS>:444
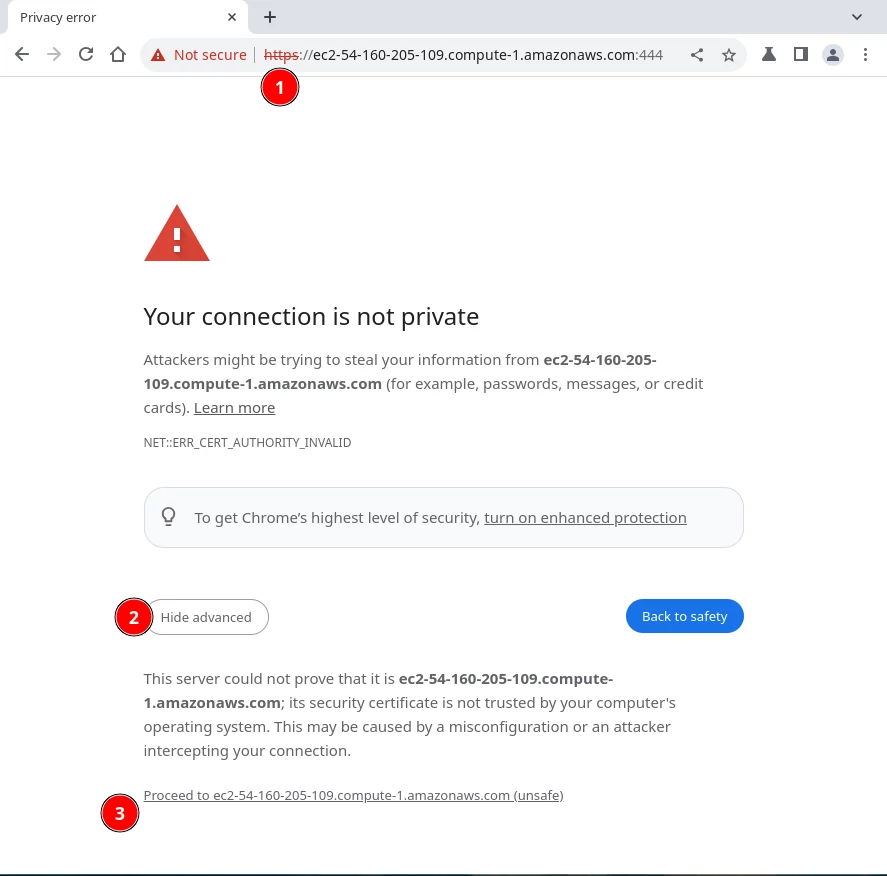
You may see a warning that the connection is not private. Click Advanced and Proceed to continue.
11. Log in to the web interface
At the login page, use:
Username: root

Password: the one you set in the previous step

12. Explore the Dashboard
Upon successful login, the main RELIANOID Dashboard will appear, where you can begin configuring your load balancer.

Upgrade RELIANOID Community to Enterprise #
Finally, please follow this guide to upgrade the Community Edition to Enterprise to get advanced features of your load balancer in cloud: Upgrade from Community to Enterprise.
Enjoy the load balancing experience with RELIANOID Community Load Balancer in the Cloud!


