Download RELIANOID Community Edition #
RELIANOID ADC Load Balancer Community Edition is a free, open source and not-ready for production software that can be acquired for testing and development purposes through an installable ISO.
The ISO and source code download is available in the Community Downloads section. Different sources to download the ISO like direct download, Github or Sourceforge are available.
Prepare environment #
Please take in consideration the following recommendations to install RELIANOID Load Balancer Community Edition in every platform.
Virtual Platforms #
In the case you’re installing RELIANOID ADC Load Balancer Community Edition into a virtual machine, just please create the VM with the desired virtual network card and add the ISO in the IDE controller. Then, start up the VM and the installer will boot. Please note that the Community Edition is not optimized for VMs, refer to the Enterprise Edition for further platform support.
Baremetal Platforms #
In the case you’re installing RELIANOID ADC Load Balancer Community Edition in a baremetal (multi purpose hardware or server), please use an application like Rufus to create bootable USBs. The ISO is already compatible with bootables CDROM and USBs so it is required to deploy the ISO image into one of those storage mediums.
Once the ISO is deployed into one of those mediums, just insert it in the hardware and boot from them. If the installer is not executed, please check BIOS options to prioritize USB or CDROM drives in the boot ordering.
Cloud Platforms #
It will be available soon.
Container Platforms #
It will be available soon.
Installation #
Please follow these instructions to proceed with the installation.
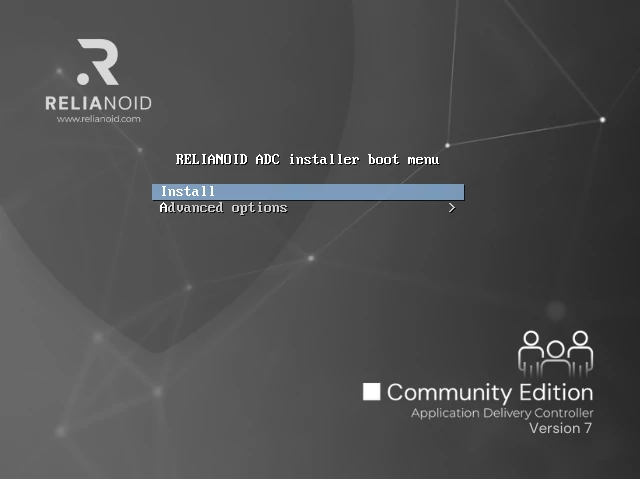
Installer boot #
Once the installer boots, a splash image with a menu will be shown. Please hit Enter or wait some seconds to proceed with the installation.
Select locales #
Select language, location and keyboard map to configure the installer and the operating system.
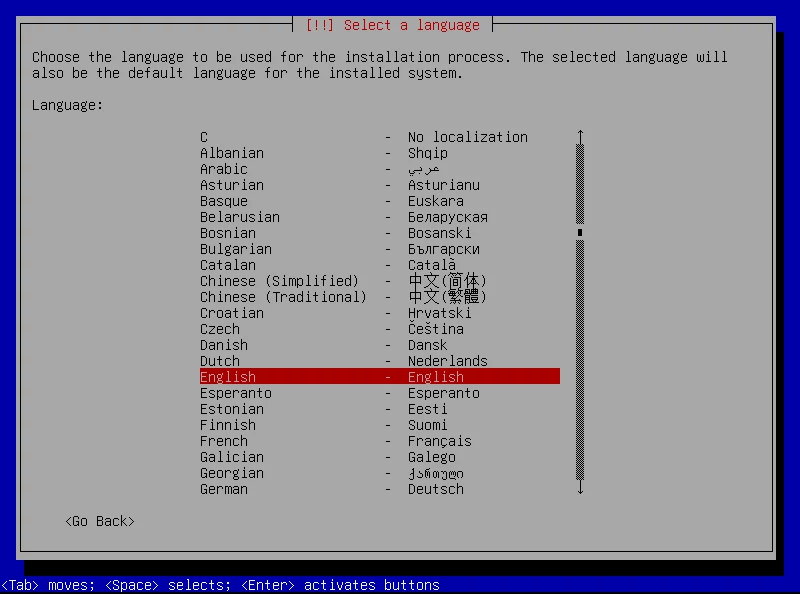
Once the installation finishes, all these values can be changed.
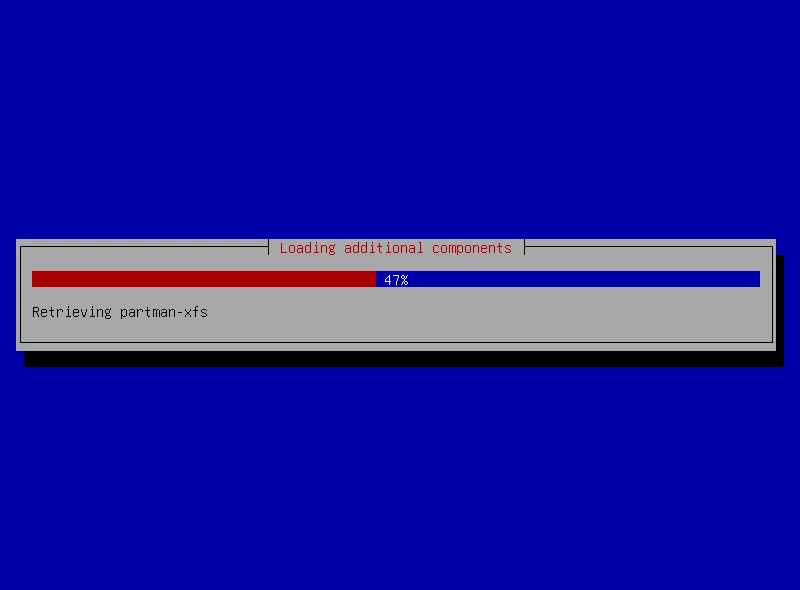
Installing components #
Wait some seconds until some components are installed in order to proceed with the installation.
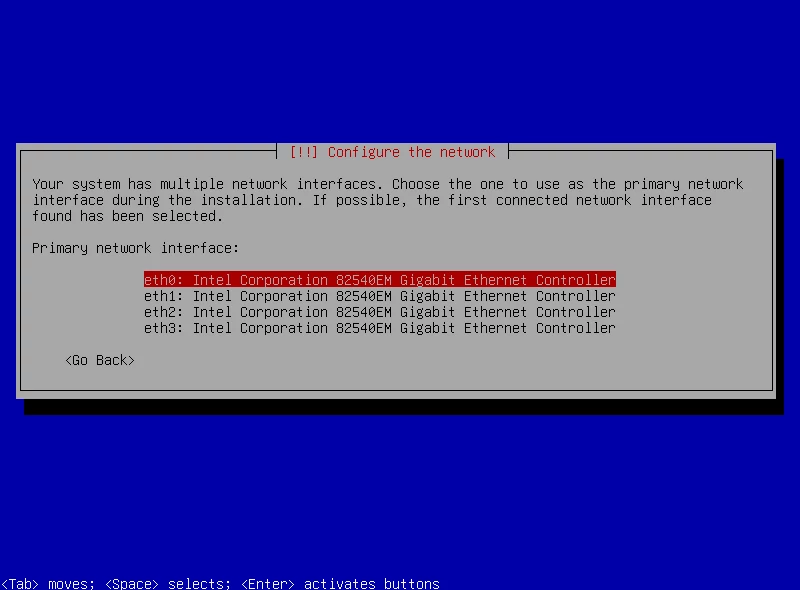
Configure network #
In this step, select the maintenance network interface by selecting the main physical interface from the detected NIC list (you can use the up and down arrows) and hit Enter.
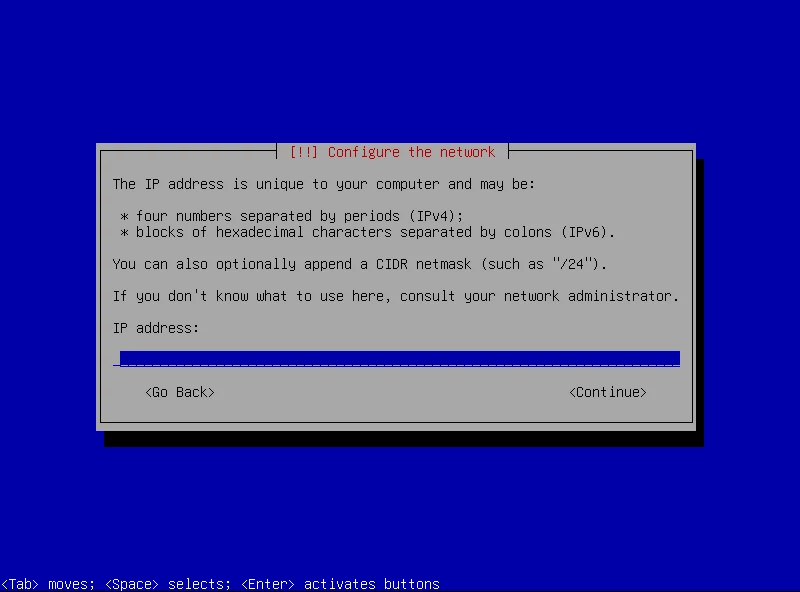
Then, set the IP address for maintenance purposes, netmask, gateway and DNS.
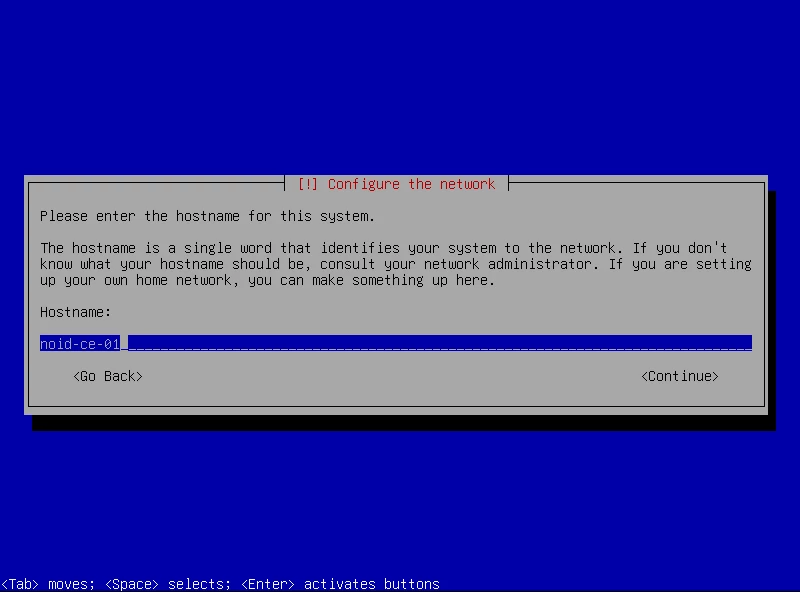
Configure the hostname #
Set a unique name to your new load balancer community appliance. Confirm with Enter.
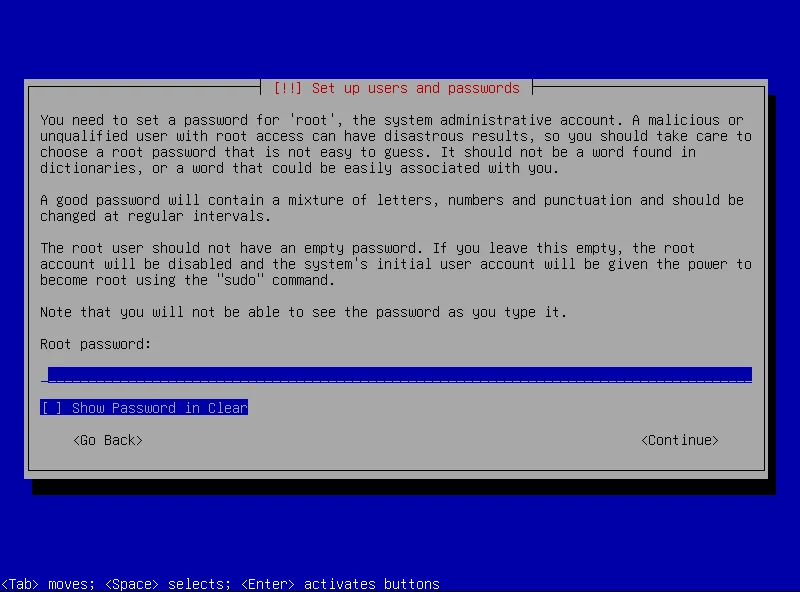
Set the root password #
Type the root password for administration and hit Enter, then please confirm the password again.
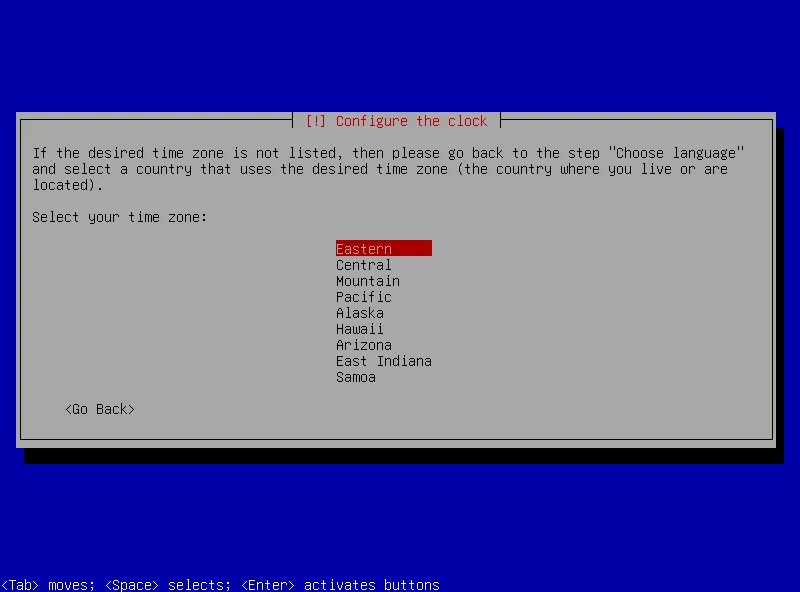
Configure the timezone #
Navigate through the time zone list with the UP and DOWN arrows and finally select with Enter.
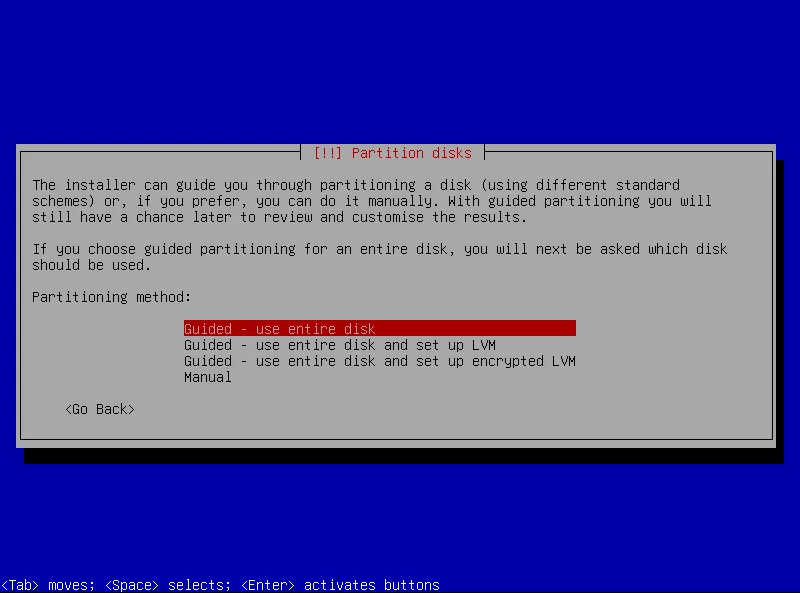
Configure the disk partitions #
Select the type of disk volume from:
Guided – use entire disk: This will use the disk as a sole volume with desired partitions. Recommended for Community Edition and testing/development purposes.
Guided – use entire disk and set up LVM: This will setup LVM (Logical Volume Manager) to allow filesystem resizing.
Guided – use entire disk and set up encrypted LVM: This will setup LVM with encryption.
Then, select the disk where the load balancer operating system will be installed from the ones listed and select the partition design required. All files in one partition recommended for Community Edition.
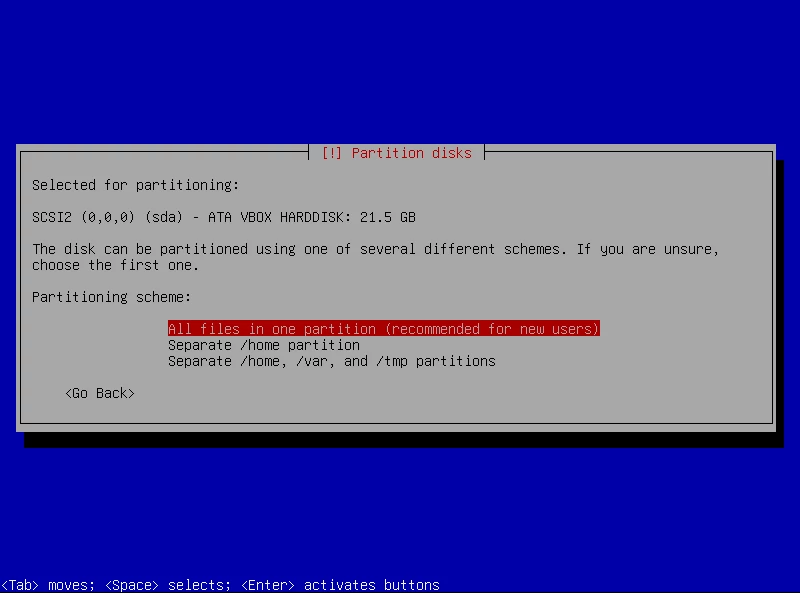
After that, select Finish partitioning and write changes to disk. Confirm Write the changes to disks? with Yes.
Installing the base system #
Finally, wait some few minutes until the installation of the system in performed.

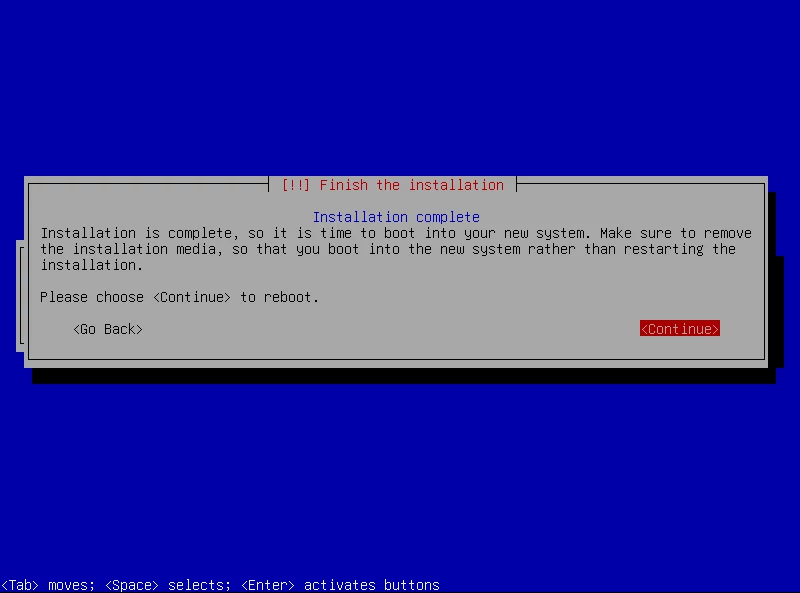
Final Steps #
After the installation, confirm the reboot of the system with the Continue button and please access to the Login via webGUI as described in the Login article for RELIANOID ADC Load Balancer v7 using the maintenance IP address configured in the previous steps.