AWS RELIANOID Enterprise Load Balancer BYOL License #
This guide describes how to deploy an instance of RELIANOID Enterprise Edition Load Balancer in AWS Cloud Provider with BYOL License.
Why to deploy RELIANOID in AWS? RELIANOID Load Balancer is an advanced network load balancer, content switching, Web Application Firewall, DDoS protection, stateful cluster for high availability, notifications, and much more! Load Balancing and Application Delivery made easy.
Steps to deploy RELIANOID Load Balancer #
1. Please login into your account of AWS and click on Launch Instances.

2. Then, set the instance name and search RELIANOID in Applications and OS Images (AMI).
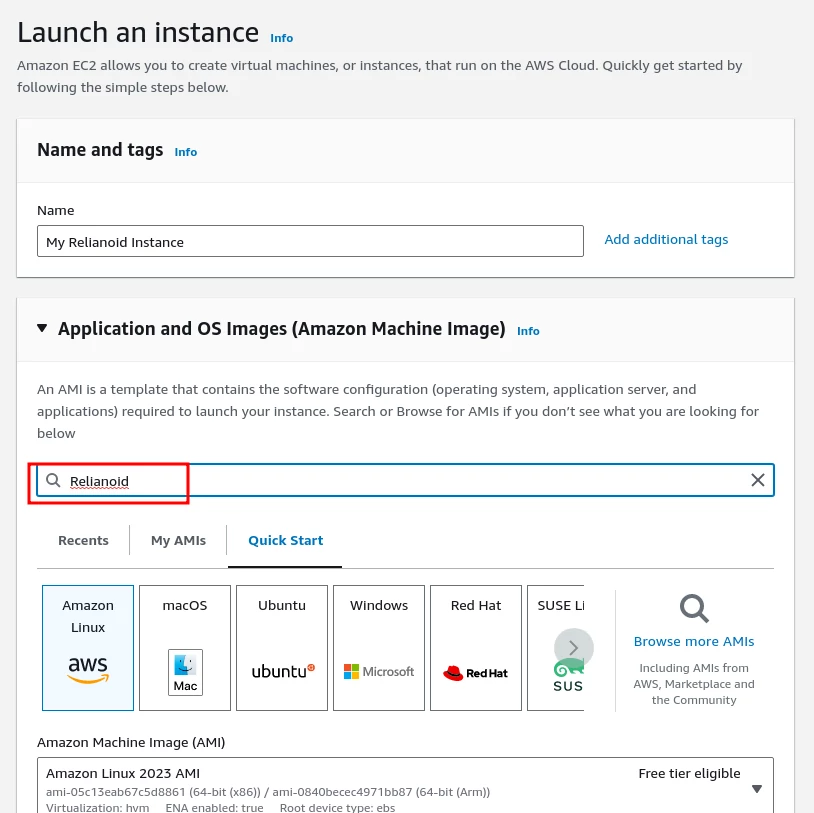
3. Select RELIANOID ADC Enterprise Edition from the Amazon Marketplace Results.
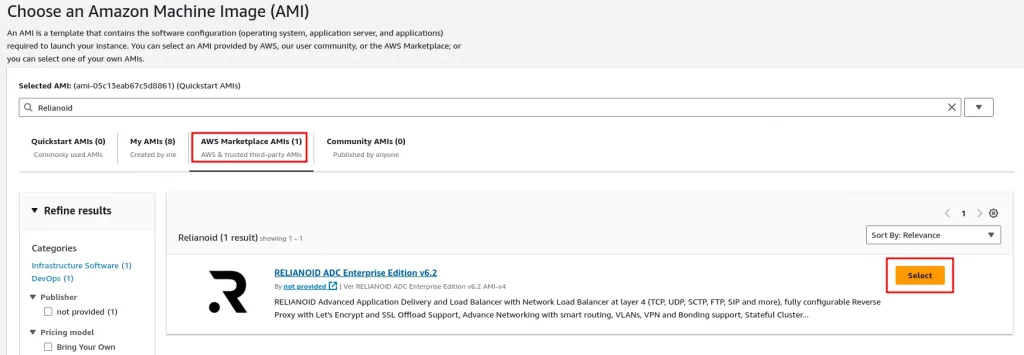
4. Then, click on Continue.
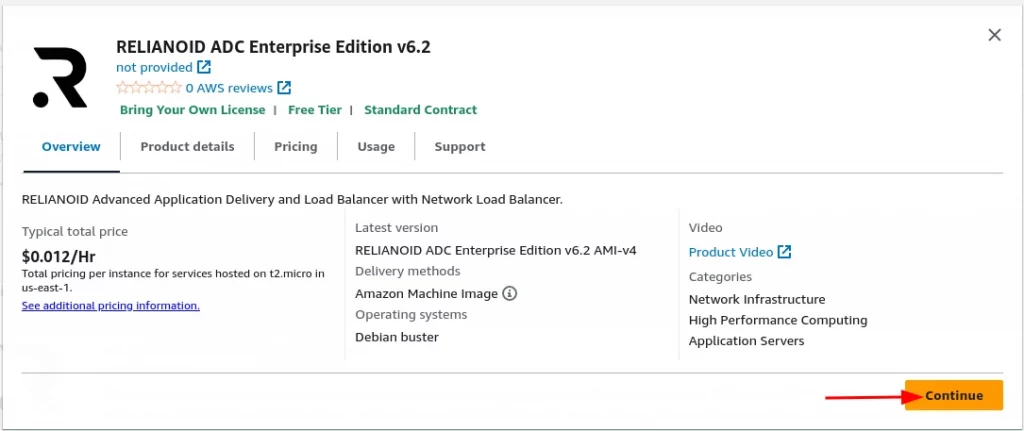
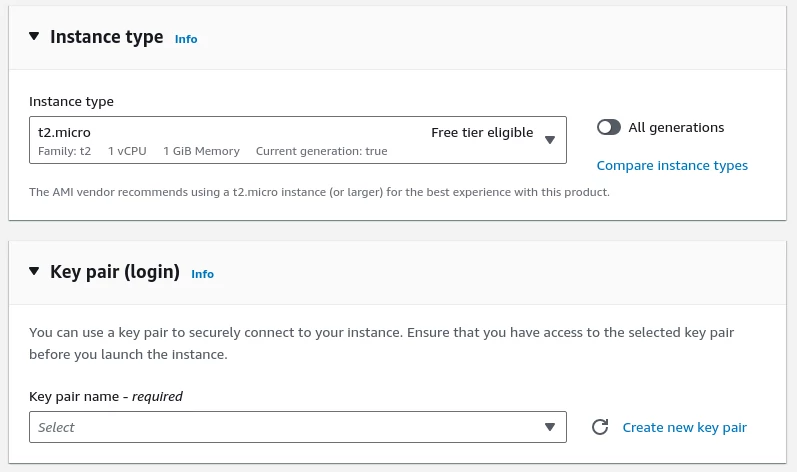
5. Select the Instance Type with the required resources according to the usage. Recommended at least 2 vCPU for SSL Offload and Web Application Firewall operations. Select your Key Pair to login in the appliance.
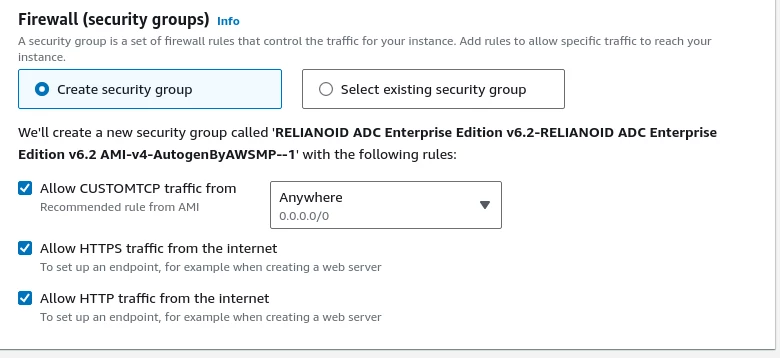
6. Select the Firewall Security Groups according to your needs. For virtual services to the public, select Allow CUSTOMTCP traffic from Anywhere, Allow HTTPS traffic from the Internet and Allow HTTP traffic from the Internet.
7. Setup the storage with a minimum of 8GB of disk.

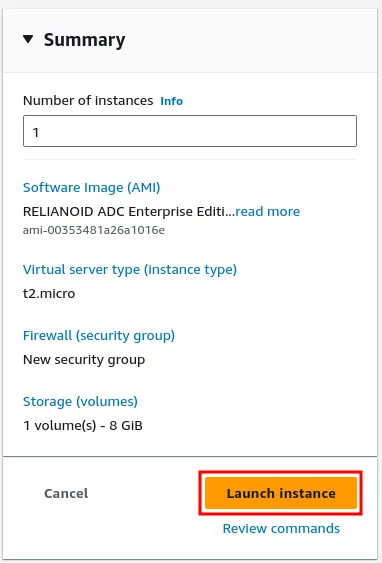
8. Review the settings of the new instance of RELIANOID Enterprise Load Balancer.
9. Then, confirm the instance is in Running state.

10. In the summary of the instance, please use the Public IPv4 DNS.

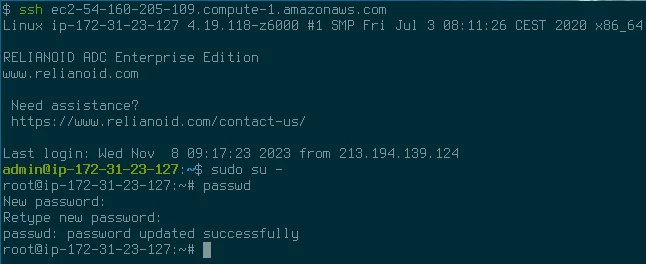
11. Please enter via SSH in the public IP with the admin user, then apply sudo to upgrade as root of the instance and change the password
admin@ip...:~# sudo su -
root@ip...:~# passwd
12. Then, please enter via your web browser to the URL https://
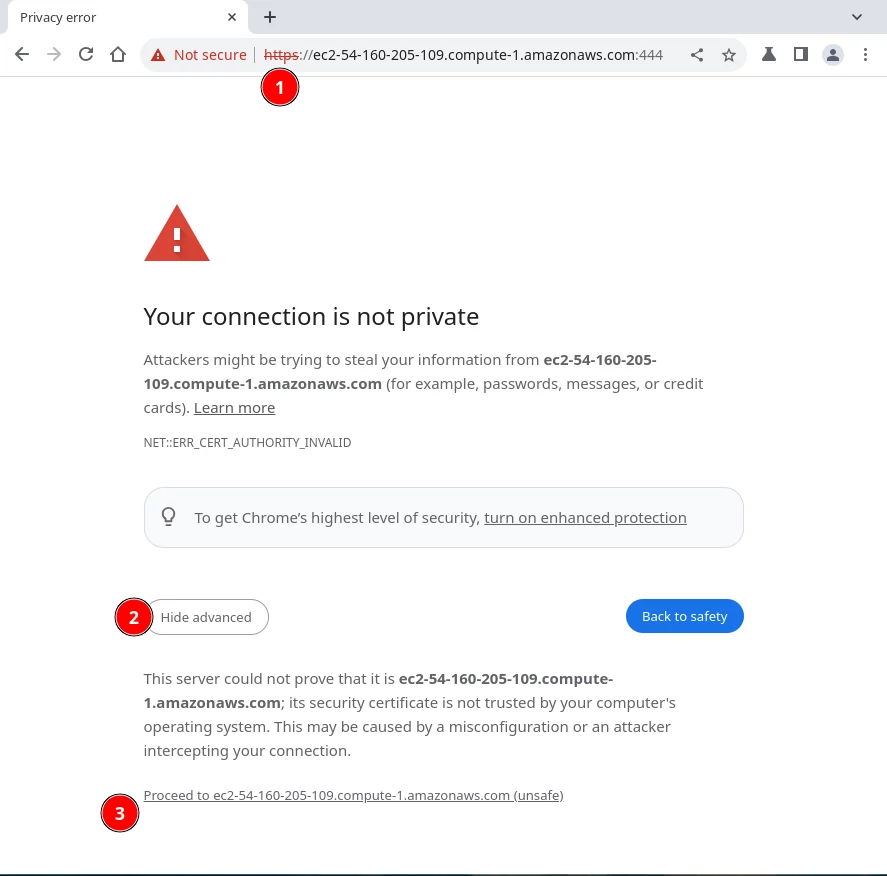
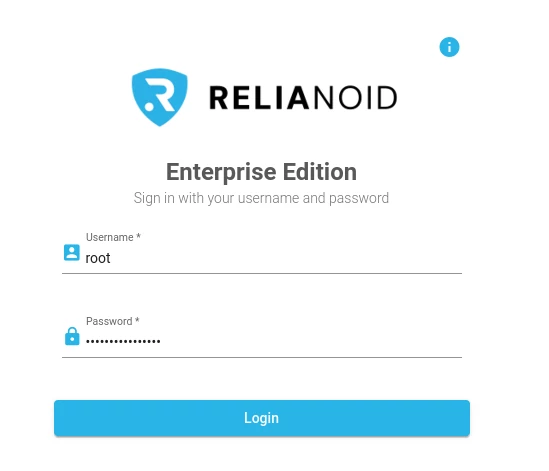
13. The login page of RELIANOID is shown. Please use the root user and set the password changed previously.
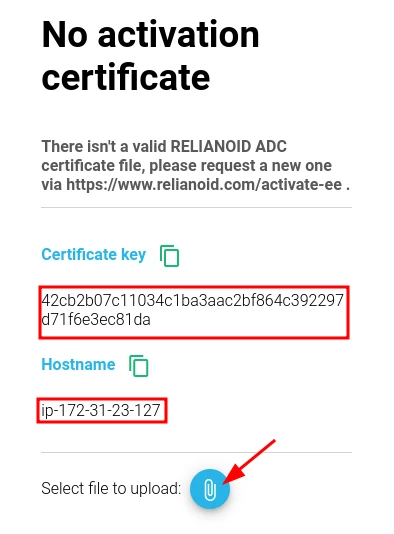
14. Once logged successfully in the web GUI, please activate the instance via https://www.relianoid.com/activate-ee. A form will be shown to insert the Key generated, Hostname and your Email. After submitting the form, a PEM certificate file will be downloaded after few seconds. Finally, upload the PEM file in the webGUI of your new instance.
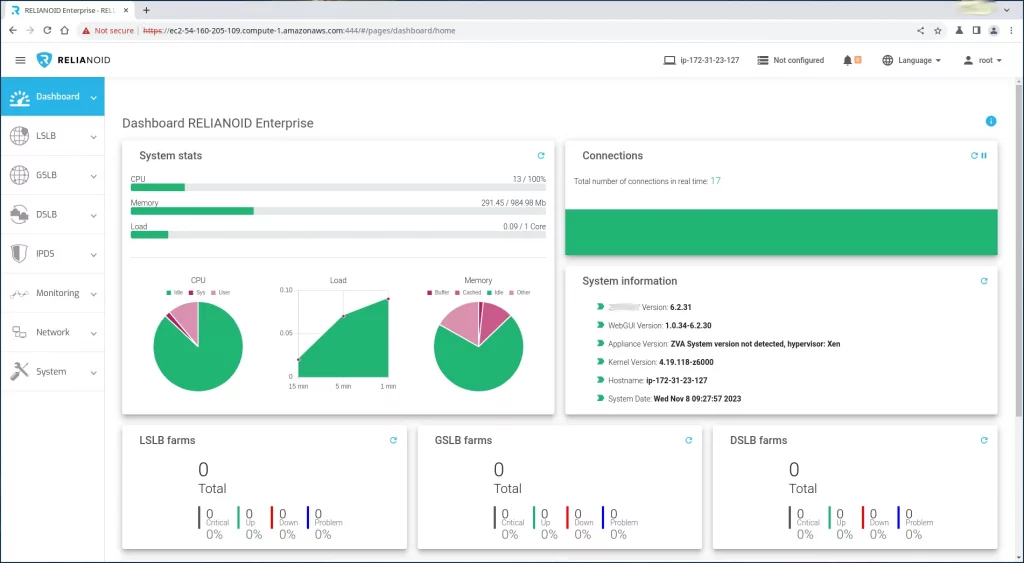
15. Finally, access to the web GUI.
Enjoy the load balancing experience with RELIANOID Enterprise Load Balancer in AWS!


