This guide explains how to deploy an instance of the RELIANOID Community Edition Load Balancer on the AWS Cloud Platform using a Free License.
Why deploy RELIANOID on AWS?
RELIANOID is a powerful and feature-rich load balancer that supports advanced networking capabilities, including Layer 7 proxying, SSL offloading, content switching, VPN, stateless clustering for high availability, real-time notifications, and more. It brings a robust Site Reliability Experience to your cloud infrastructure.
Create a RELIANOID Community Load Balancer Instance on AWS #
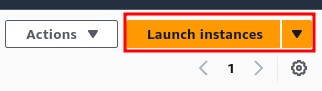
1. Log in to your AWS account.
Access the AWS Management Console and click on Launch Instances.
2. Set the instance name and search for RELIANOID
Under Applications and OS Images (AMI), search for RELIANOID.
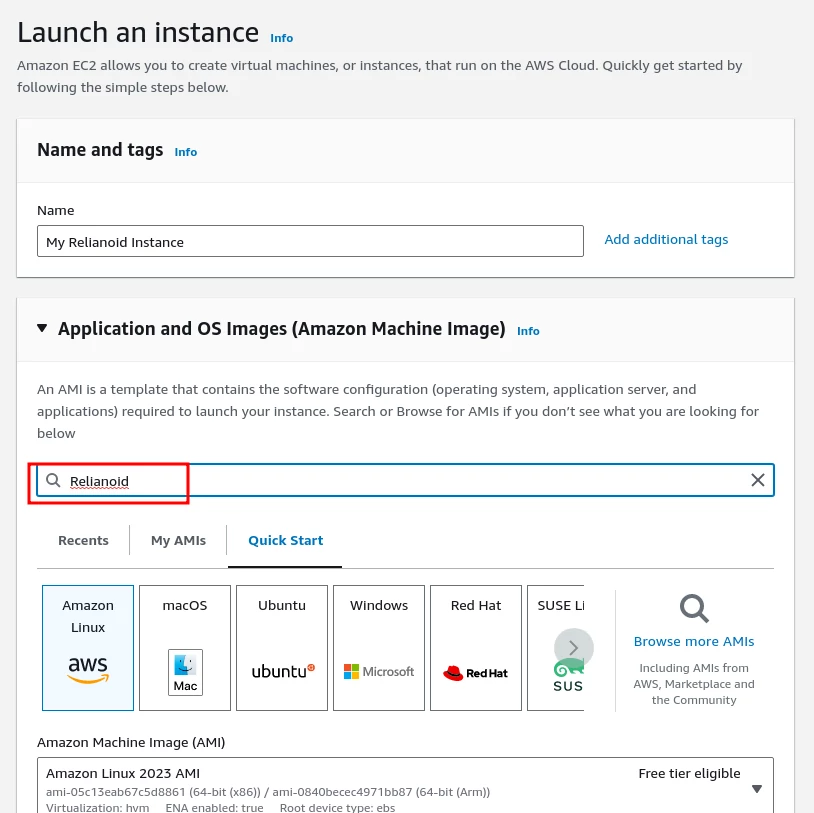
3. Select the RELIANOID AMI
From the Amazon Marketplace results, choose RELIANOID ADC Community Edition.

4. Continue to configuration
Click Continue to proceed with the instance configuration.

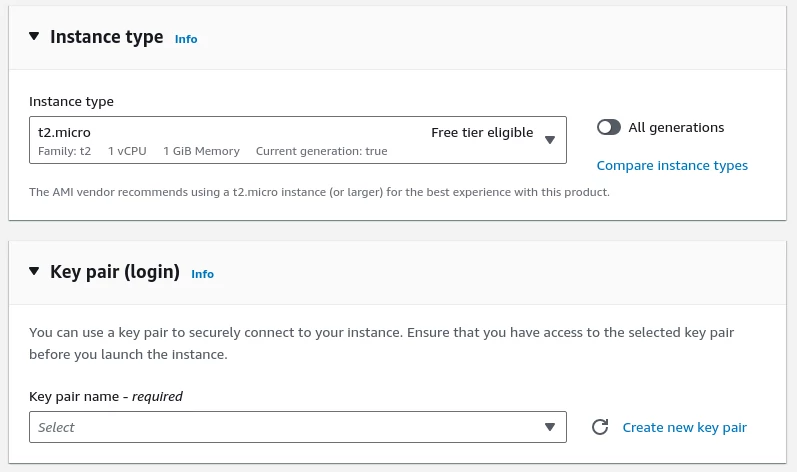
5. Choose an instance type
Select an instance type with appropriate resources for your use case.
Recommendation: At least 2 vCPUs for SSL Offload operations.
Choose your Key Pair to enable SSH access to the appliance.
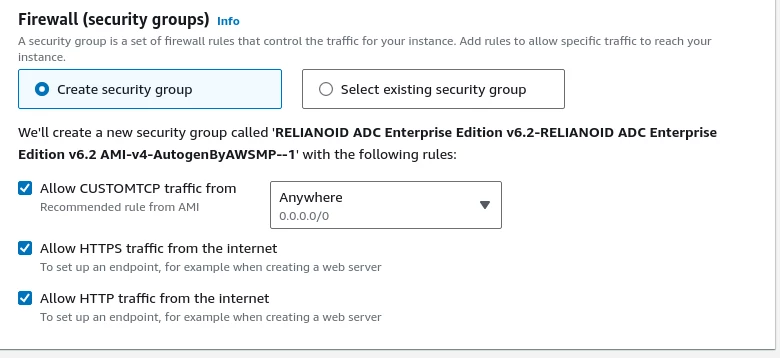
6. Configure firewall settings (Security Groups)
Set up security groups according to your needs.
For management, allow the following:
- HTTPS port 444 from the Internet
- SSH port 22 from the Internet
For public virtual services, allow the following:
- Custom TCP traffic from Anywhere
- HTTPS (port 443) traffic from the Internet
- HTTP (port 80) traffic from the Internet
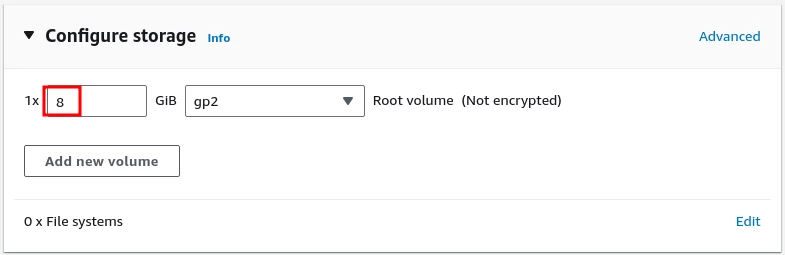
7. Allocate storage
Assign at least 20 GB of disk space for the instance.
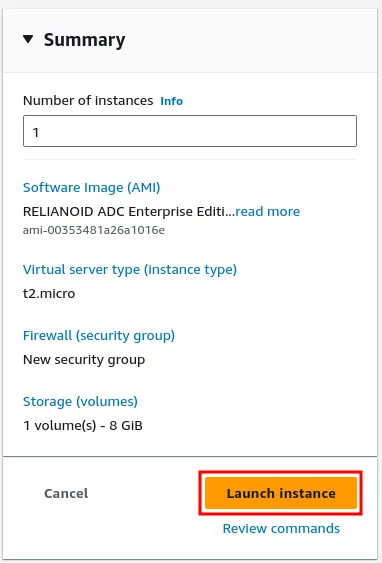
8. Review and launch the instance
Review all settings and launch the instance.
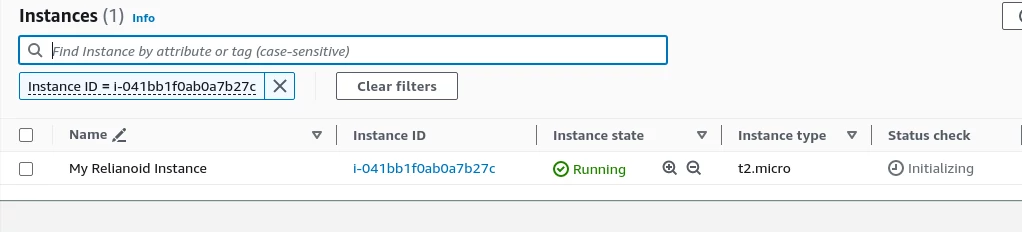
9. Verify the instance status
Ensure the instance enters the Running state.
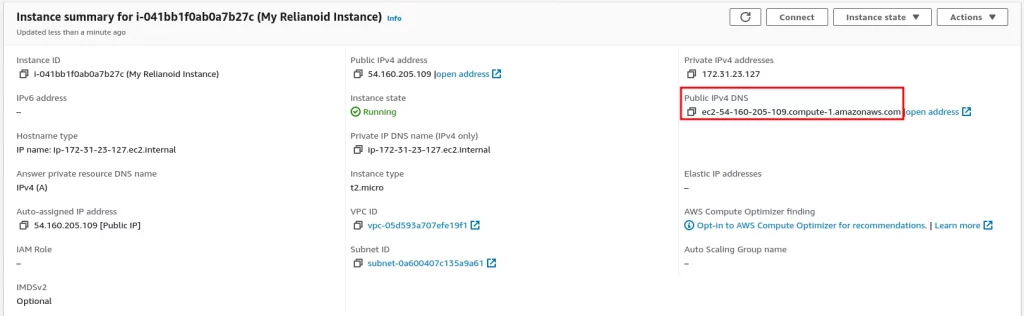
10. Locate the Public DNS
From the instance summary, copy the Public IPv4 DNS. You’ll use this for accessing the system via SSH and web browser.
Initial Setup of RELIANOID Community Load Balancer on AWS #
11. Connect via SSH
SSH into the instance using the admin user:
ssh -i your-key.pem admin@<Public_IP>
Then switch to the root user and change the root password:
sudo su -

passwd
It would appear to re-type the password to avoid any mistake.
12. Access the Web GUI
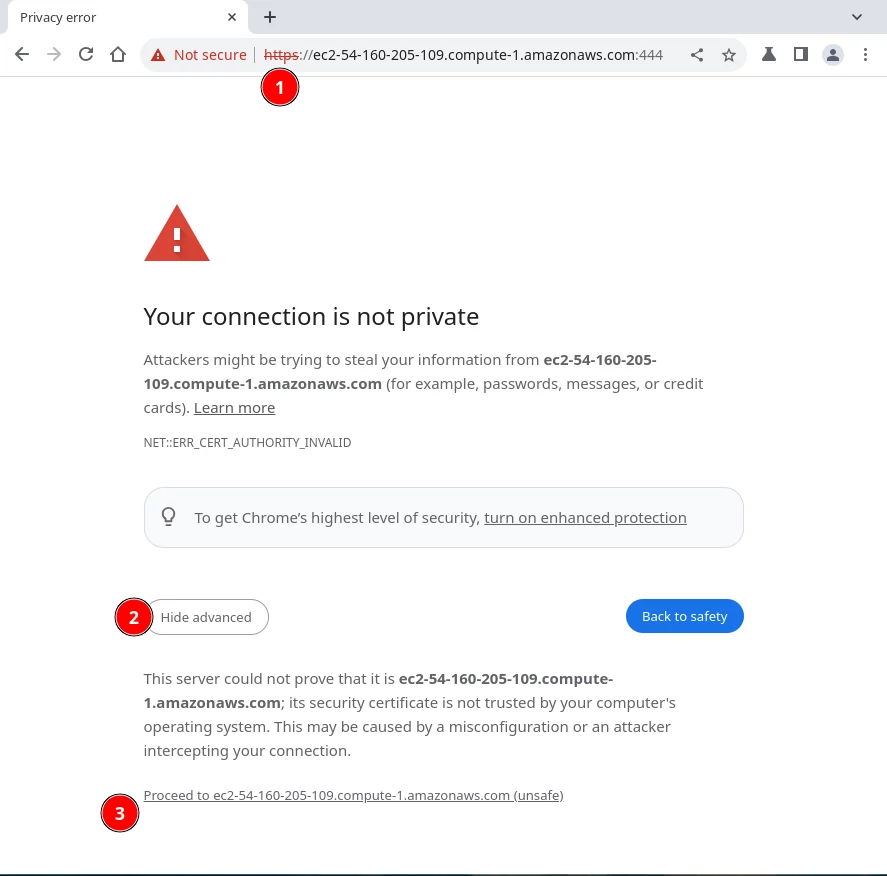
In your web browser, go to:
https://<Public_IP_or_DNS>:444
You may see a warning that the connection is not private. Click Advanced and Proceed to continue.
13. Log in to the web interface
At the login page, use:
Username: root

Password: the one you set in the previous step

14. Explore the Dashboard
Upon successful login, the main RELIANOID Dashboard will appear, where you can begin configuring your load balancer.

Upgrade RELIANOID Community to Enterprise #
Finally, please follow this guide to upgrade the Community Edition to Enterprise to get advanced features of your load balancer in cloud: Upgrade from Community to Enterprise.
Enjoy the load balancing experience with RELIANOID Community Load Balancer in the Cloud!


